Welcome to the Journey of My EDGE Project
Research and Reference Pictures
My three main pictures I used for reference and inspiration were these ones.

 |
| This picture was my original inspiration of trying to get the temple and the red hill together in one photo. |
Though I used many pictures and took many many more, as minor references and inspirations as I worked to try to get the layout of the picture.


Layout and Practice
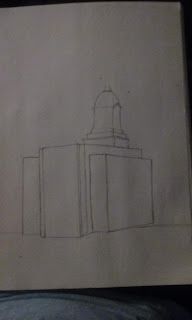
 |
| This is the original rough layout of the picture |
My original plan was to sketch the whole picture out in gray-scale before I put anything onto the canvas. This plan backfired on my at first because I did not have a piece of paper big enough for me to match the canvas size wise. I did some general sketching and reference picture taking while I waited for my canvas in the mail. I wanted to see what I was working with before I made any hard plans.
 |
| Got my canvas in the mail! I was a little surprised at the size. |
I took some time to practice using watercolor paint on canvas and layering acrylic paint on top, by making a small picture for my dad for his birthday. (He likes boats)


Sketch, Adjust and More Practice
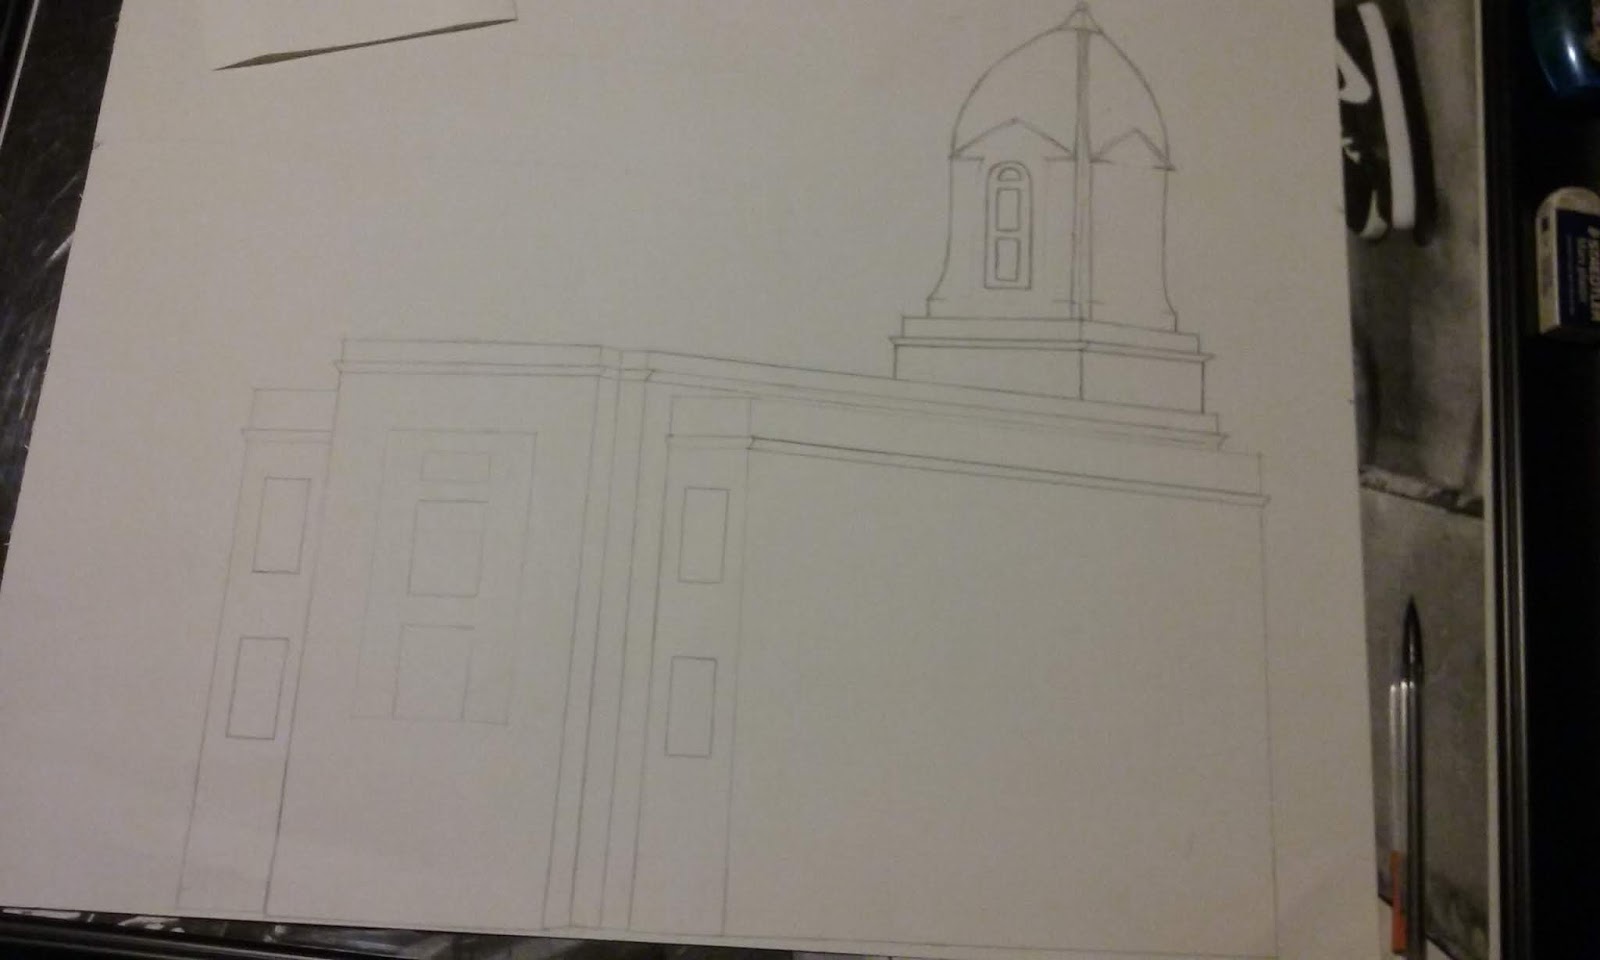
I had never drawn the temple before and wanted to practice and get used to the proportions before I tried to put it on the canvas. I drew out the basic outlines and features of it in my sketchbook.


This picture took up way more time than I thought it would and set my timeline back more than I would like to admit. I had a difficult time getting the angles to match up, and let un-perfectly straight lines bother me.

I drew out the general shape of the read hill and the mountain behind it then saved some time by transferring the temple that I already drew, straight to the paper.
When comparing my paper to the canvas that the amount of temple to hill ratio was not what I wanted. After some flailing and stress, I realized that I could sketch the size outlines on the plastic wrapper of the canvas. This way I could play around with positioning and figure out just what size I needed the temple to be.
Because I had to draw it smaller once before, drawing the bigger outlines was much easier the second time around.


This picture took up way more time than I thought it would and set my timeline back more than I would like to admit. I had a difficult time getting the angles to match up, and let un-perfectly straight lines bother me.

I drew out the general shape of the read hill and the mountain behind it then saved some time by transferring the temple that I already drew, straight to the paper.
 |
| Traced the out line from my sketchbook to my larger paper |
Dry-erase markers saved the day!
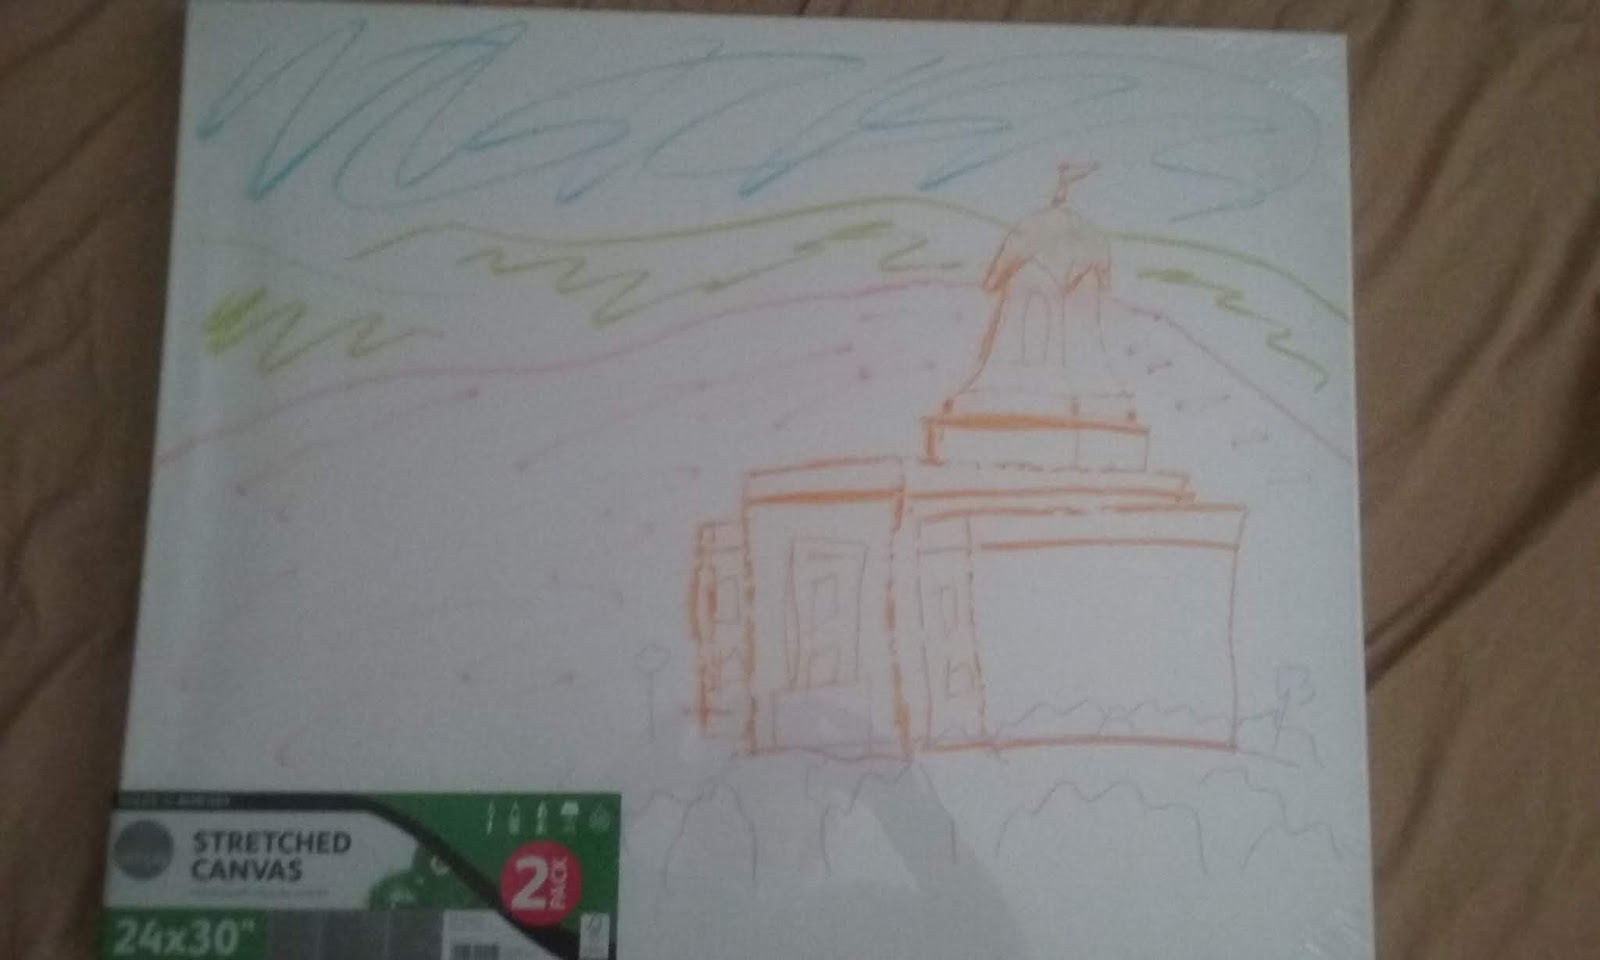  |
| Size and proportion comparison. |
I realized that I basically needed to fill the whole page of a paper the size of my original sketch. Luckily I had an extra paper the exact size I needed. I measured the boundaries of the size that I wanted and started to draw the temple one more time.


Because I had to draw it smaller once before, drawing the bigger outlines was much easier the second time around.
I didn't have quite enough room to have the angel fit on the same page. With some MacGyvering I was able to just tape a spare bit of paper on and voila I was ready to trace it onto the canvas.


Final Stretch For The Stretched Canvas
 |
| I wish the quality was better. I have the hill and mountain out line sketched out in the background. |
With everything outlined and my reference pictures close by for color comparison, I was ready to paint!
Started with the sky and moved down the canvas one layer of water color at a time.


Now to add some details!

Painting the temple was Scary!

I am really happy with how it turned out though! I used a combination of cheaper acrylic paints, the kind you might use on a wood craft thing, and nicer "painting paint". The combination worked really well, I was able to stretch out the effects of the nice paint with out using a ton of it.
 |
| My husband didn't get to use our table for a whole week! ;) |
After I finished the temple I needed to add close up detail and fill in lots of empty space. I used acrylic paint for the trees because of the opaque properties of it. I will say this, throughout this project I have changed my understanding of paint: on good days it will cooperate, on bad days it will be as evil as it can, so make sure it’s a good day before you crack open the paint.

ALL DONE
Here you see the smile of a tired but satisfied SUU student, with her finished EDGE project.
